

If you followed the last couple of posts, I took a hiatus from the construction of the ADU and went to Germany for a couple of weeks. The main event was the Bayreuth Festival, where I sat through 17 hours of The Ring Cycle amidst a primarily German crowd. Check out the posts if you are interested in Germany and opera.
But this week it was back to the grind. Progress on the ADU project continues slowly, but surely. With the challenging first two Foundations and Rough Framing phases behind us, we are now energized by the advent of the third and final phase for Infrastructure and Interior Work.

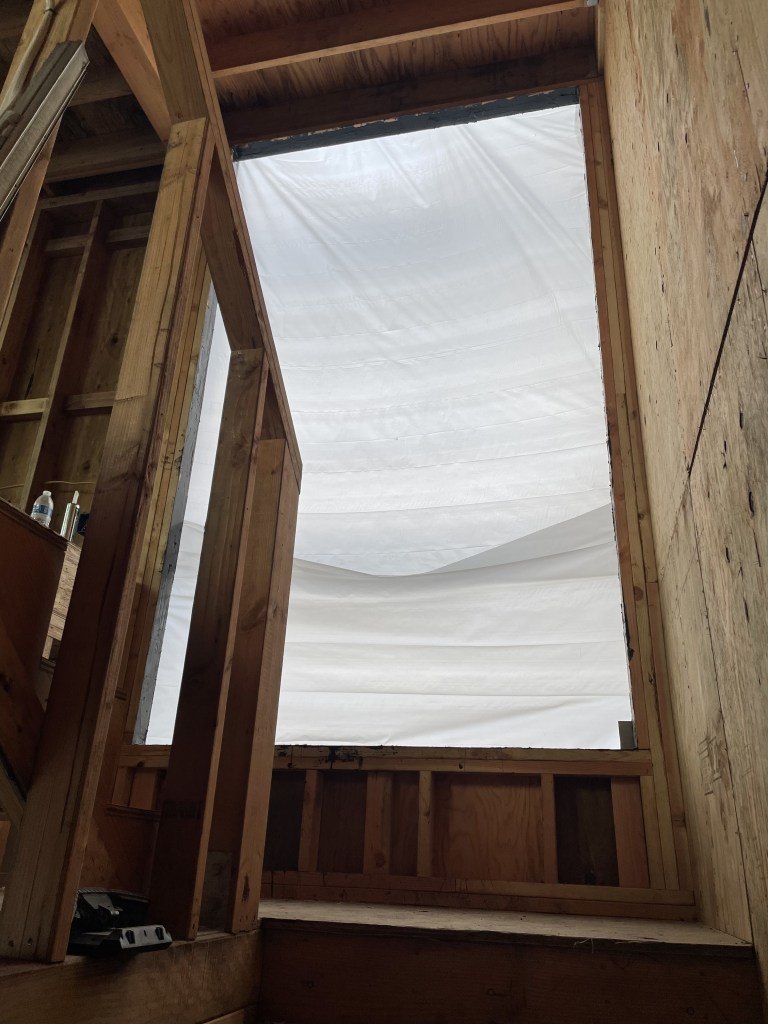
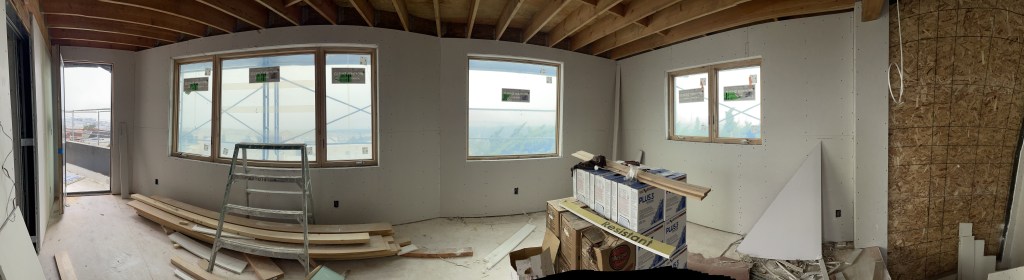
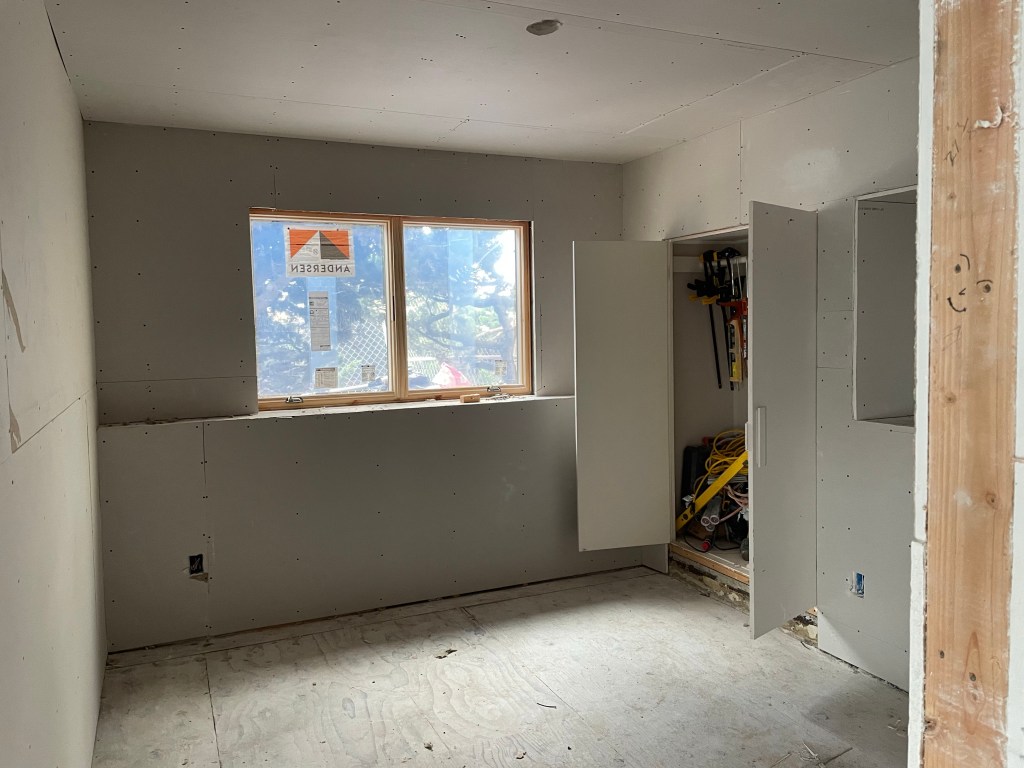
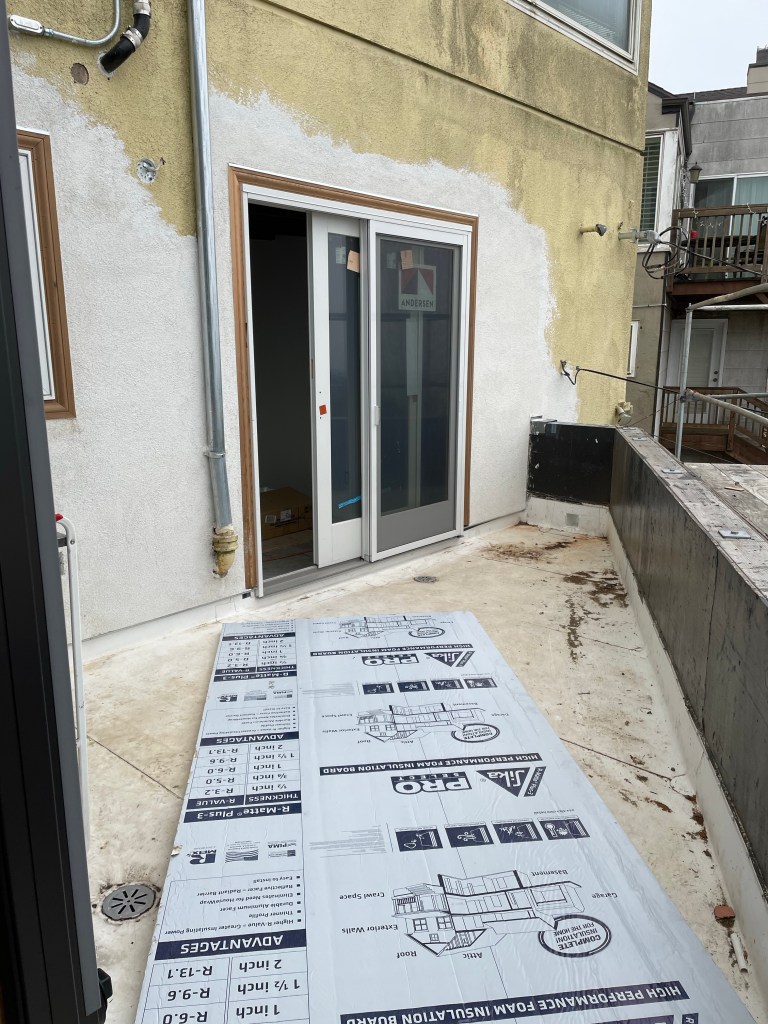
There is only one exterior opening outstanding before the project can be officially deemed “sealed and weather-tight”. The two-story hallway picture window was temporarily covered in plastic, then hoarding used to cover the large opening. All the rest of the windows have been installed, including the large French patio doors to the exterior deck and the sliding doors to the breakfast nook. Additional weather-proofing details, such as roof and window flashing, will be applied following the stucco patching on the original house.
The Building’s Respiratory, Digestive and Circulation Systems
Like the human body, a building is reliant upon its respiratory (heating, ventilating and air conditioning system), digestive (plumbing) and circulatory (electrical) systems to function properly. Once the skeletal system (structure) is formed, the other layers are added.
Infrastructure defines our modern-day living standards but is seldom seen or appreciated. Without the effort of HVAC mechanics, plumbers and electricians, we would still be living in caves. These contractors were now front and center stage.
They drilled and sawed through and between stud walls to place plumbing pipes, vents and electrical outlets. Their work is grueling as we watched them twist and screw sewer lines, vents and ductwork in between walls and in awkward crawl spaces. We depend on their ingenuity to fit conduits, connectors, and pipes within confined spaces to provide us with essential juice and means of discharge.

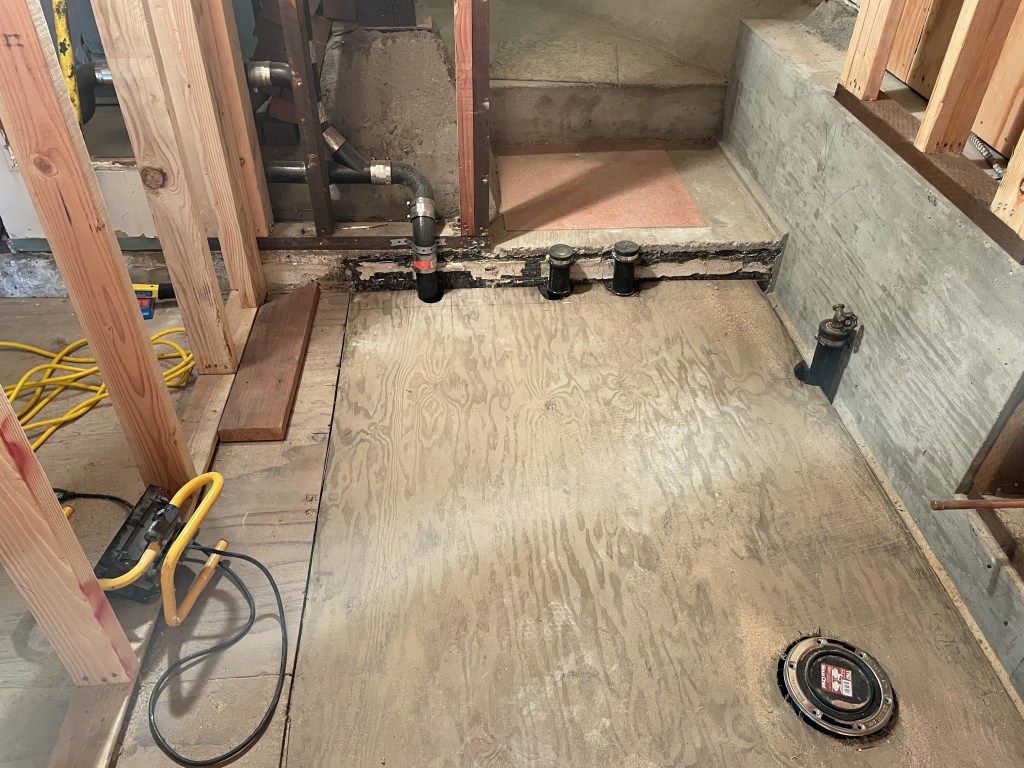

We seldom think about how crucial these elements are until they are missing or misplaced! And of course, the brains are stored in the controls, meters and sacred electric panel.
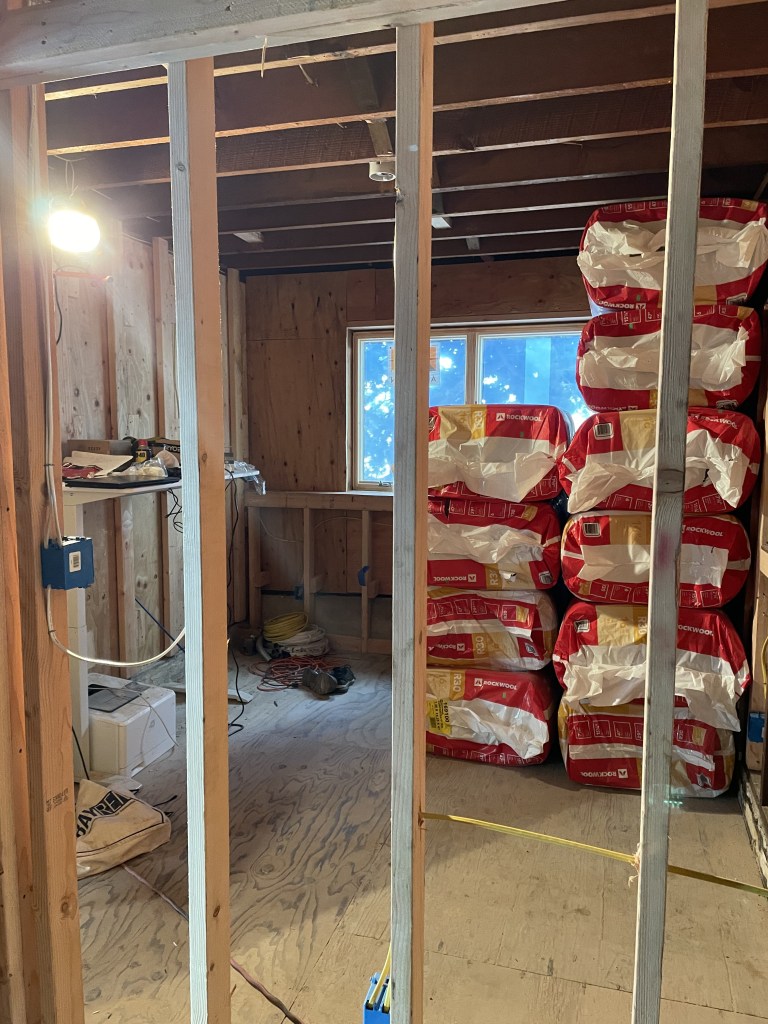
After the plumbing and electrical work, blanket insulation was installed. Upon successfully completed inspections, sheetrock was placed on both sides to form walls, with cutouts for electrical outlets and switches.
Rockin’ and Rollin’
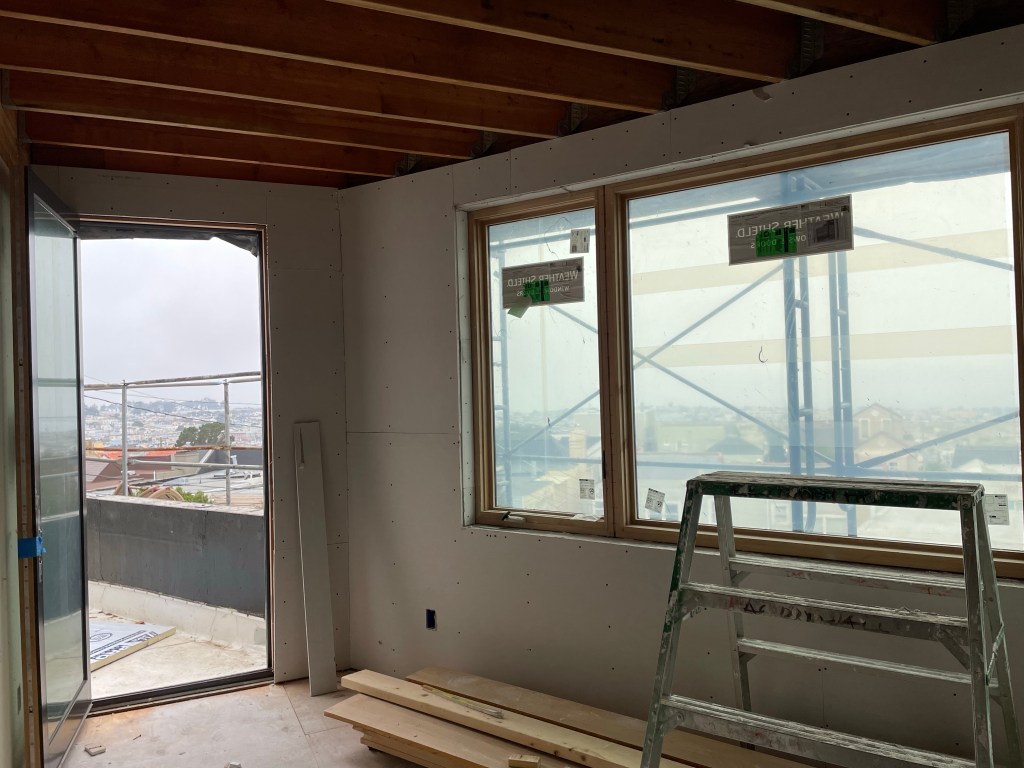
Before we were able to pause and catch our breath, the drywall was quickly put throughout the unit. It left a marked visual change to all the spaces– we could no longer telescope through the rooms! The windows were suddenly framed by opaque walls and views popped out of each space. What a joyful sensation after such a long wait!
The drywall scope is quite an intricate process. After the drywall is installed over stud walls packed with blanket insulation, gaps between panels are taped, “mudded” or sealed with wet plaster, troweled, and allowed to dry for a couple of days. The mud is sanded to a smooth finish so there are no flaws on the surface of the sheetrock. Despite having seen this process over hundreds of commercial and residential projects over the course of my career, it’s not the same as watching it unfold in front of you real-time. The swiss cheese gouges in sheetrock are no longer visible to the naked eye. It can be gratifying but only after endless hours of what feels like watching the grass grow.

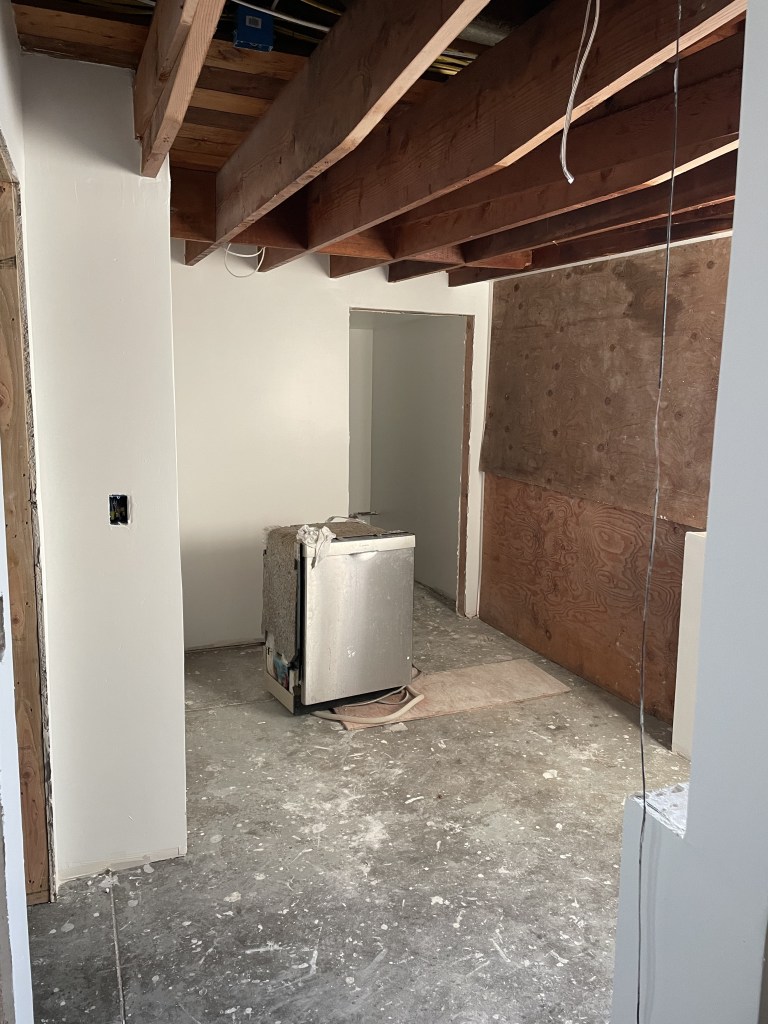
The Kitchen Renovation
Without a functional kitchen, the stress and anxiety built to fever pitch . Washing dishes in the bathroom vanity sinks and avoiding clogging food particles in the narrow 2″ pipes was a daily brain bender.

and ceiling painted

Following drywall wetting and drying processes, the primer and paint was then applied. Different paint finishes, such as flat, eggshell and high gloss, determine the amount of light reflectance and resilience. The higher the sheen, the higher the light reflectance. In the kitchen, we wanted to maximize the light reflectance due to the limited amount of natural light. If you remember from one of the earliest posts, we sacrificed the kitchen window to maximize the ADU.
The kitchen now has no natural light. Using higher light reflective paint helps to capture as much light from elsewhere as possible to mitigate limited daylighting. Most of the walls were going to be covered by high gloss overhead and base cabinets so the wall color was moot.
Laundry flooring led me into the world of engineered products. You can now buy vinyl floor tiles that do not require grout. They are “keyed”, or grooved to the next piece as you would expect Pergo or thicker simulated wood flooring. The profile of the vinyl tile is less than 1/4″ thick, but manufactured with a laminated surface, a composite sandwich in between, and then with a plastic backing. These new engineered products command a premium price, but it is worth it for ease of installation and a more durable material.
After considering products at Home Depot or Lowe’s, I decided to purchase the product at Floorcraft, an “old school” retailer down on Bayshore. A sales rep waxed poetic and shared his years of experience as a flooring installer with me. As a real-time responder to my endless questions, he sold me on his recommendations. There’s still something to be said for customer service where you can see the whites of their eyes.

Coming Soon….
Watch for the next post to see the finished kitchen and more steps to the finish line for the ADU! Don’t forget to comment or let me know if you have questions about the design and construction process!!
