


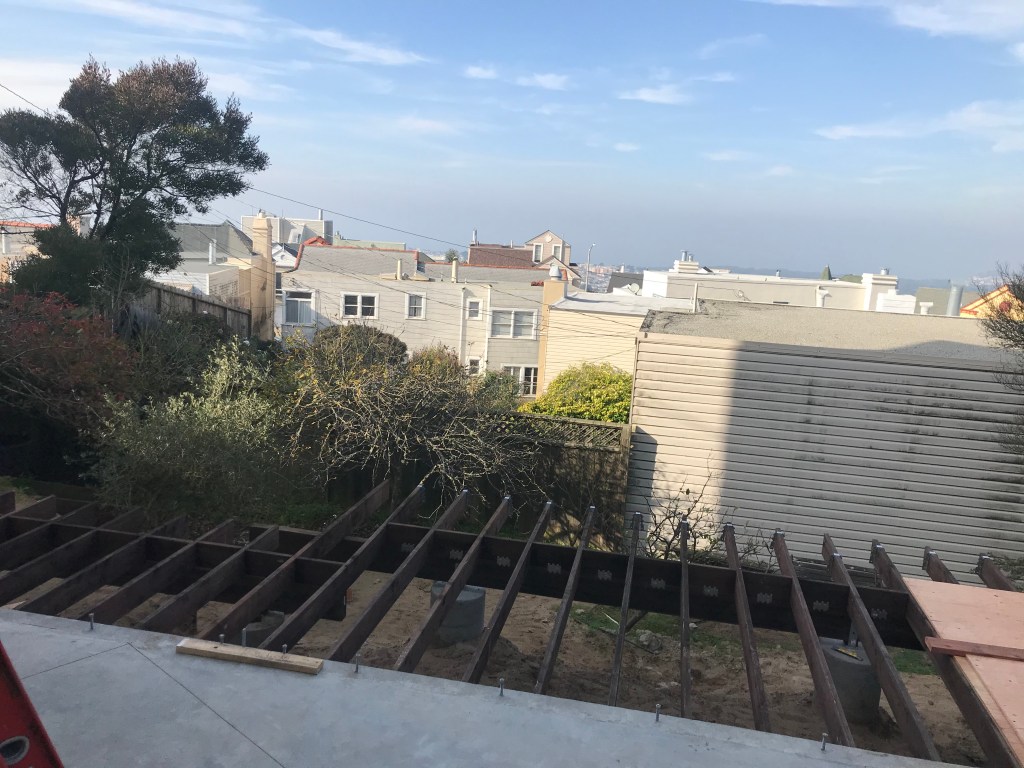
As the Bay Area was blessed with torrential rains over Thanksgiving and December, our secret hopes of a dry winter were dashed. Fortunately, the exterior foundations, concrete slab, and exterior deck framing were completed before the slushy weather soaked the property. Ironically, a 50-year old juniper tree collapsed, which was caused by the drought but too weak to be saved by the downpours.
The bids we received for rough framing often varied drastically, so we made a point to receive multiple bids for each scope. The foundation bids seemed exceptionally high, which were due in part to the difficulty of the structural design and the fact that contractors are in very high demand in the Bay Area (a natural side effect of a hot housing market and an uptick in renovations during the pandemic). In the end, we took what we could get. Knowing that the foundation is perhaps the most crucial part of a project that should not be compromised, we took a deep breath and signed on one of the higher bidders.
Once the complicated foundation was completed, we were left with a dilemma. The pier drilling took much more time and money than expected, so we rebid the rough framing work. Earlier conversations raised the possibility of self-performing some of the work. As property owners, we were allowed to serve as our own contractor.
Originally, we had considered self-performing some of the finish work. Constructing rough framing for posts and beams all by ourselves seemed like a daunting task. The thought of getting the budget back on track together with the opportunities for learning the nuts and bolts of construction made a compelling argument for pursuing self-construction.
We had already planned, designed, and prepared the detailed working drawings for the project. The permit was approved after two years of being at the forefront of complex ADU (Accessory Dwelling Unit) requirements. The foundation that took nearly three months was now complete. After many discussions, we collectively agreed to forge ahead and do the framing ourselves.
We drafted a written agreement among the team that mapped out the costs and schedule for Rough Framing. Each of us signed and committed to making the framing portion of the project a reality. Between three architects and a baby, we combined all our professional skills as a structural engineer, contractor, designer and planner all into one pot.
Before the December rains, we framed the exterior deck, which would serve as an extended work surface. A complicated stepped grade beam in the existing basement was still not complete. We made the most of inclement weather and built the grade beam ourselves. After some changes to the structural design, we were able to avoid a costly change order.
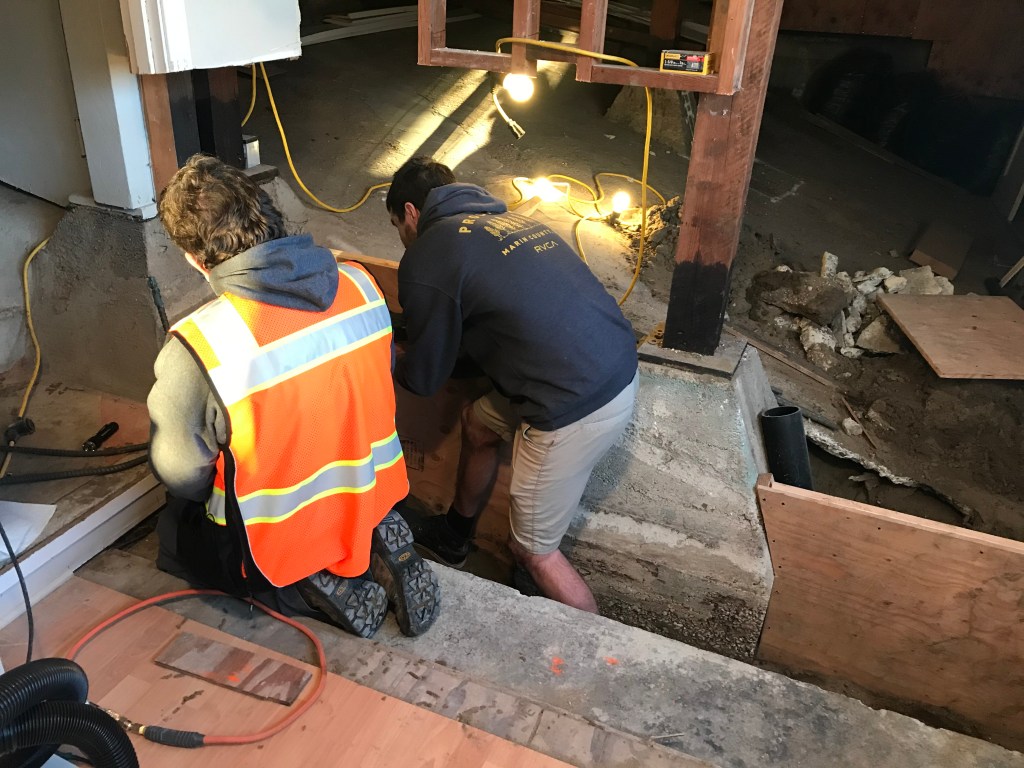
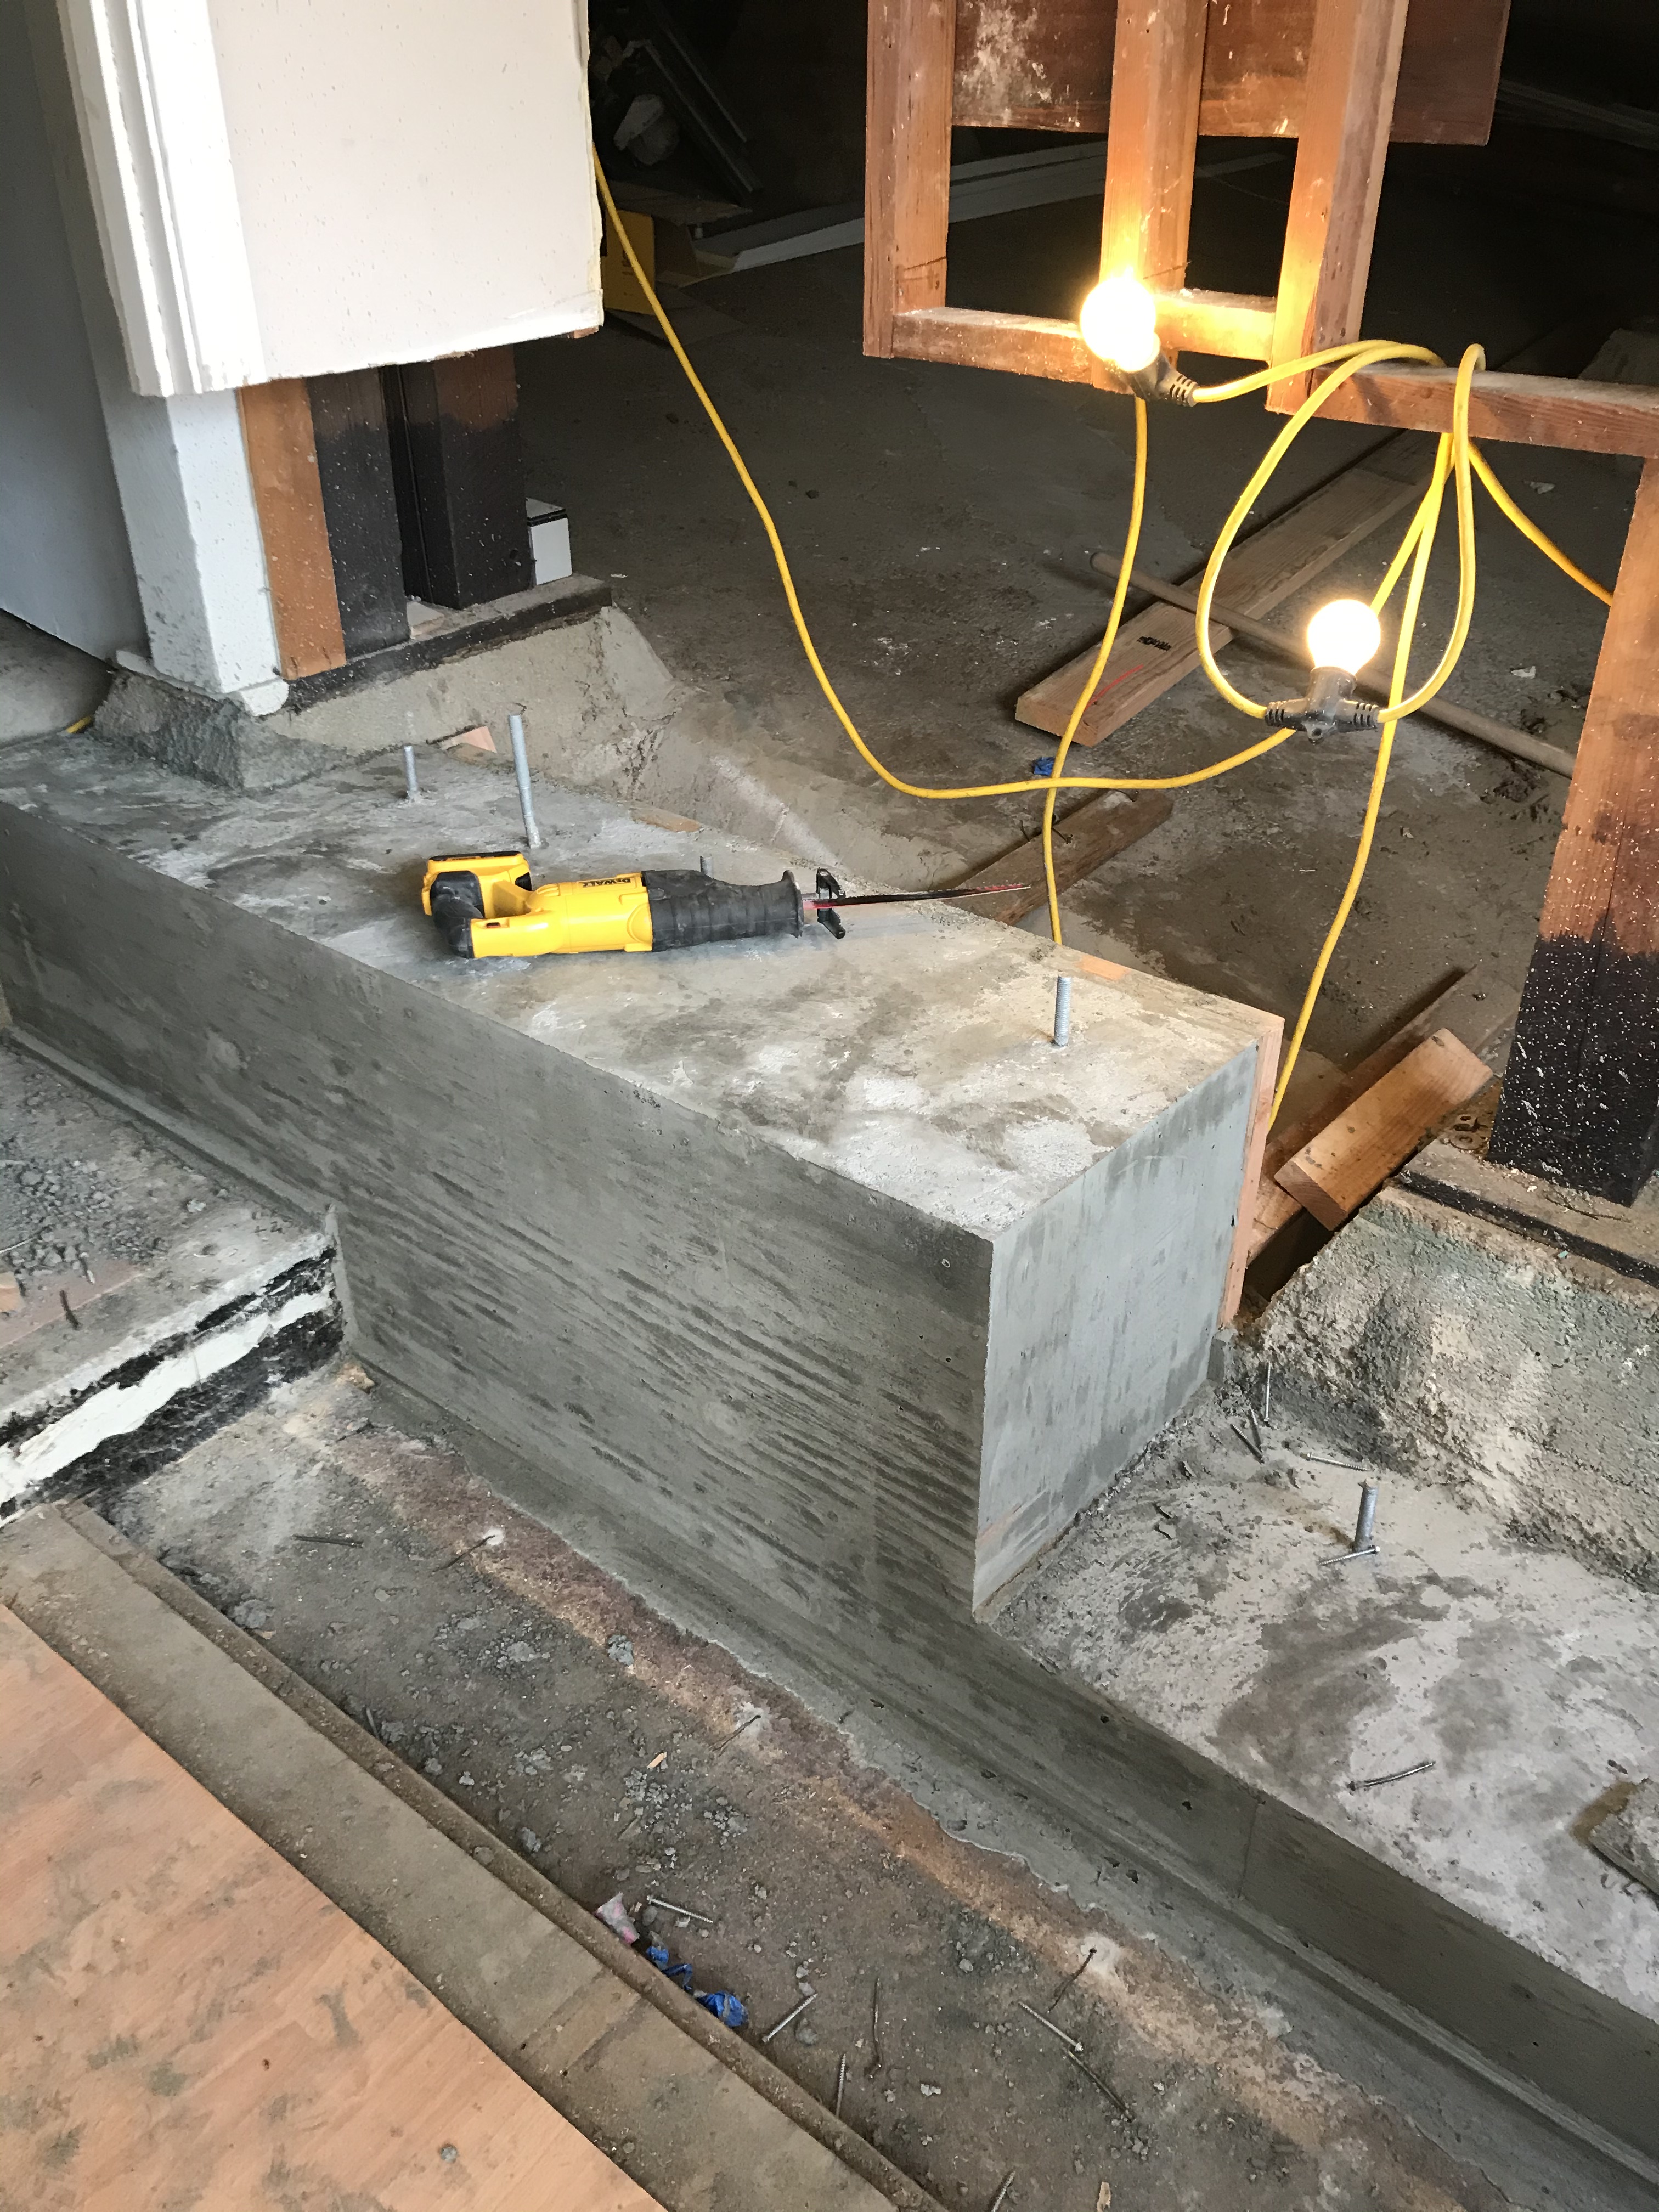
Interior Grade Beam Construction
First, we excavated the area surrounding an existing interior footing, around which the new grade beam would be poured. Next, we bent the reinforcing bars by hand with two hickey bars to create the rebar cage. We drilled and epoxied new rebars into the existing foundation to connect to the new cage. Our special inspector was willing to advise us on the steps needed for the work to be approved. He even complemented us on our rebar craftsmanship when he came back to see the final product!

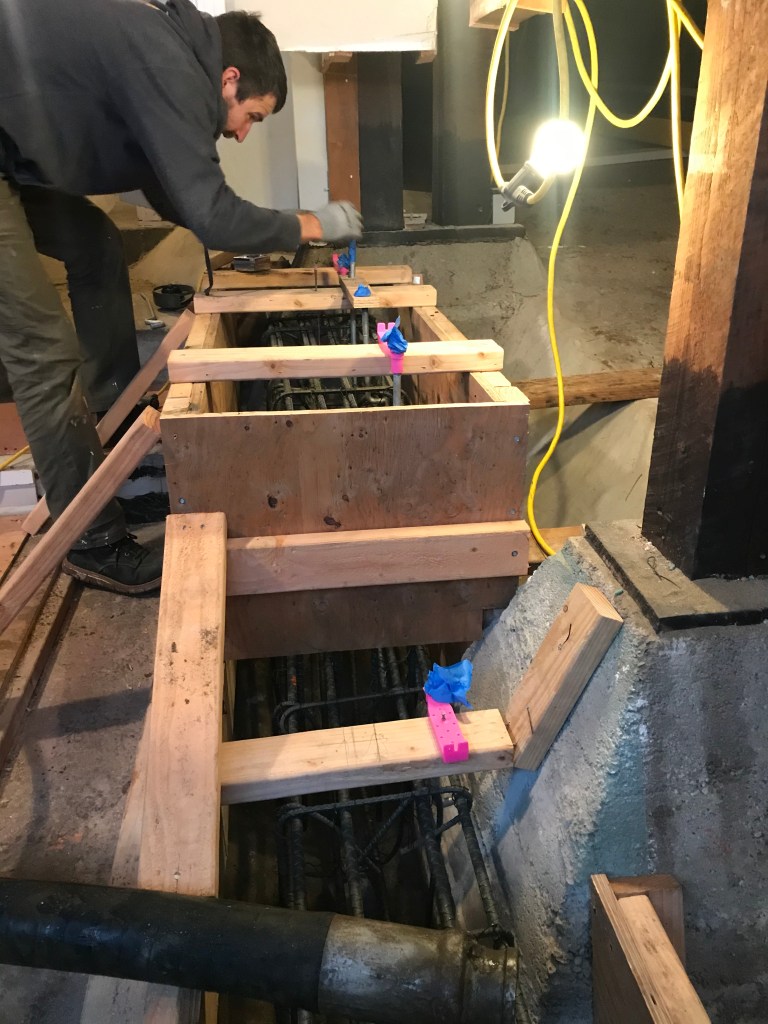
Once the rebar cage was tied and we’d gotten the necessary inspections, we placed the formwork for the concrete.


After calculating that it would take more than 50 bags of mix-it-yourself concrete to pour the grade beam, we decided to treat ourselves to a concrete truck and pump. The pump operator gave us a few tips on how to vibrate the concrete (not too much!) so that it would settle evenly and finish nicely. Concrete is similar to baking: make sure the proportions are correct, don’t mix it too much or over-work it, and make sure to use the proper techniques to allow it cure at the given temperature.
After the concrete was poured, the formwork was removed, and voila! A grade beam!

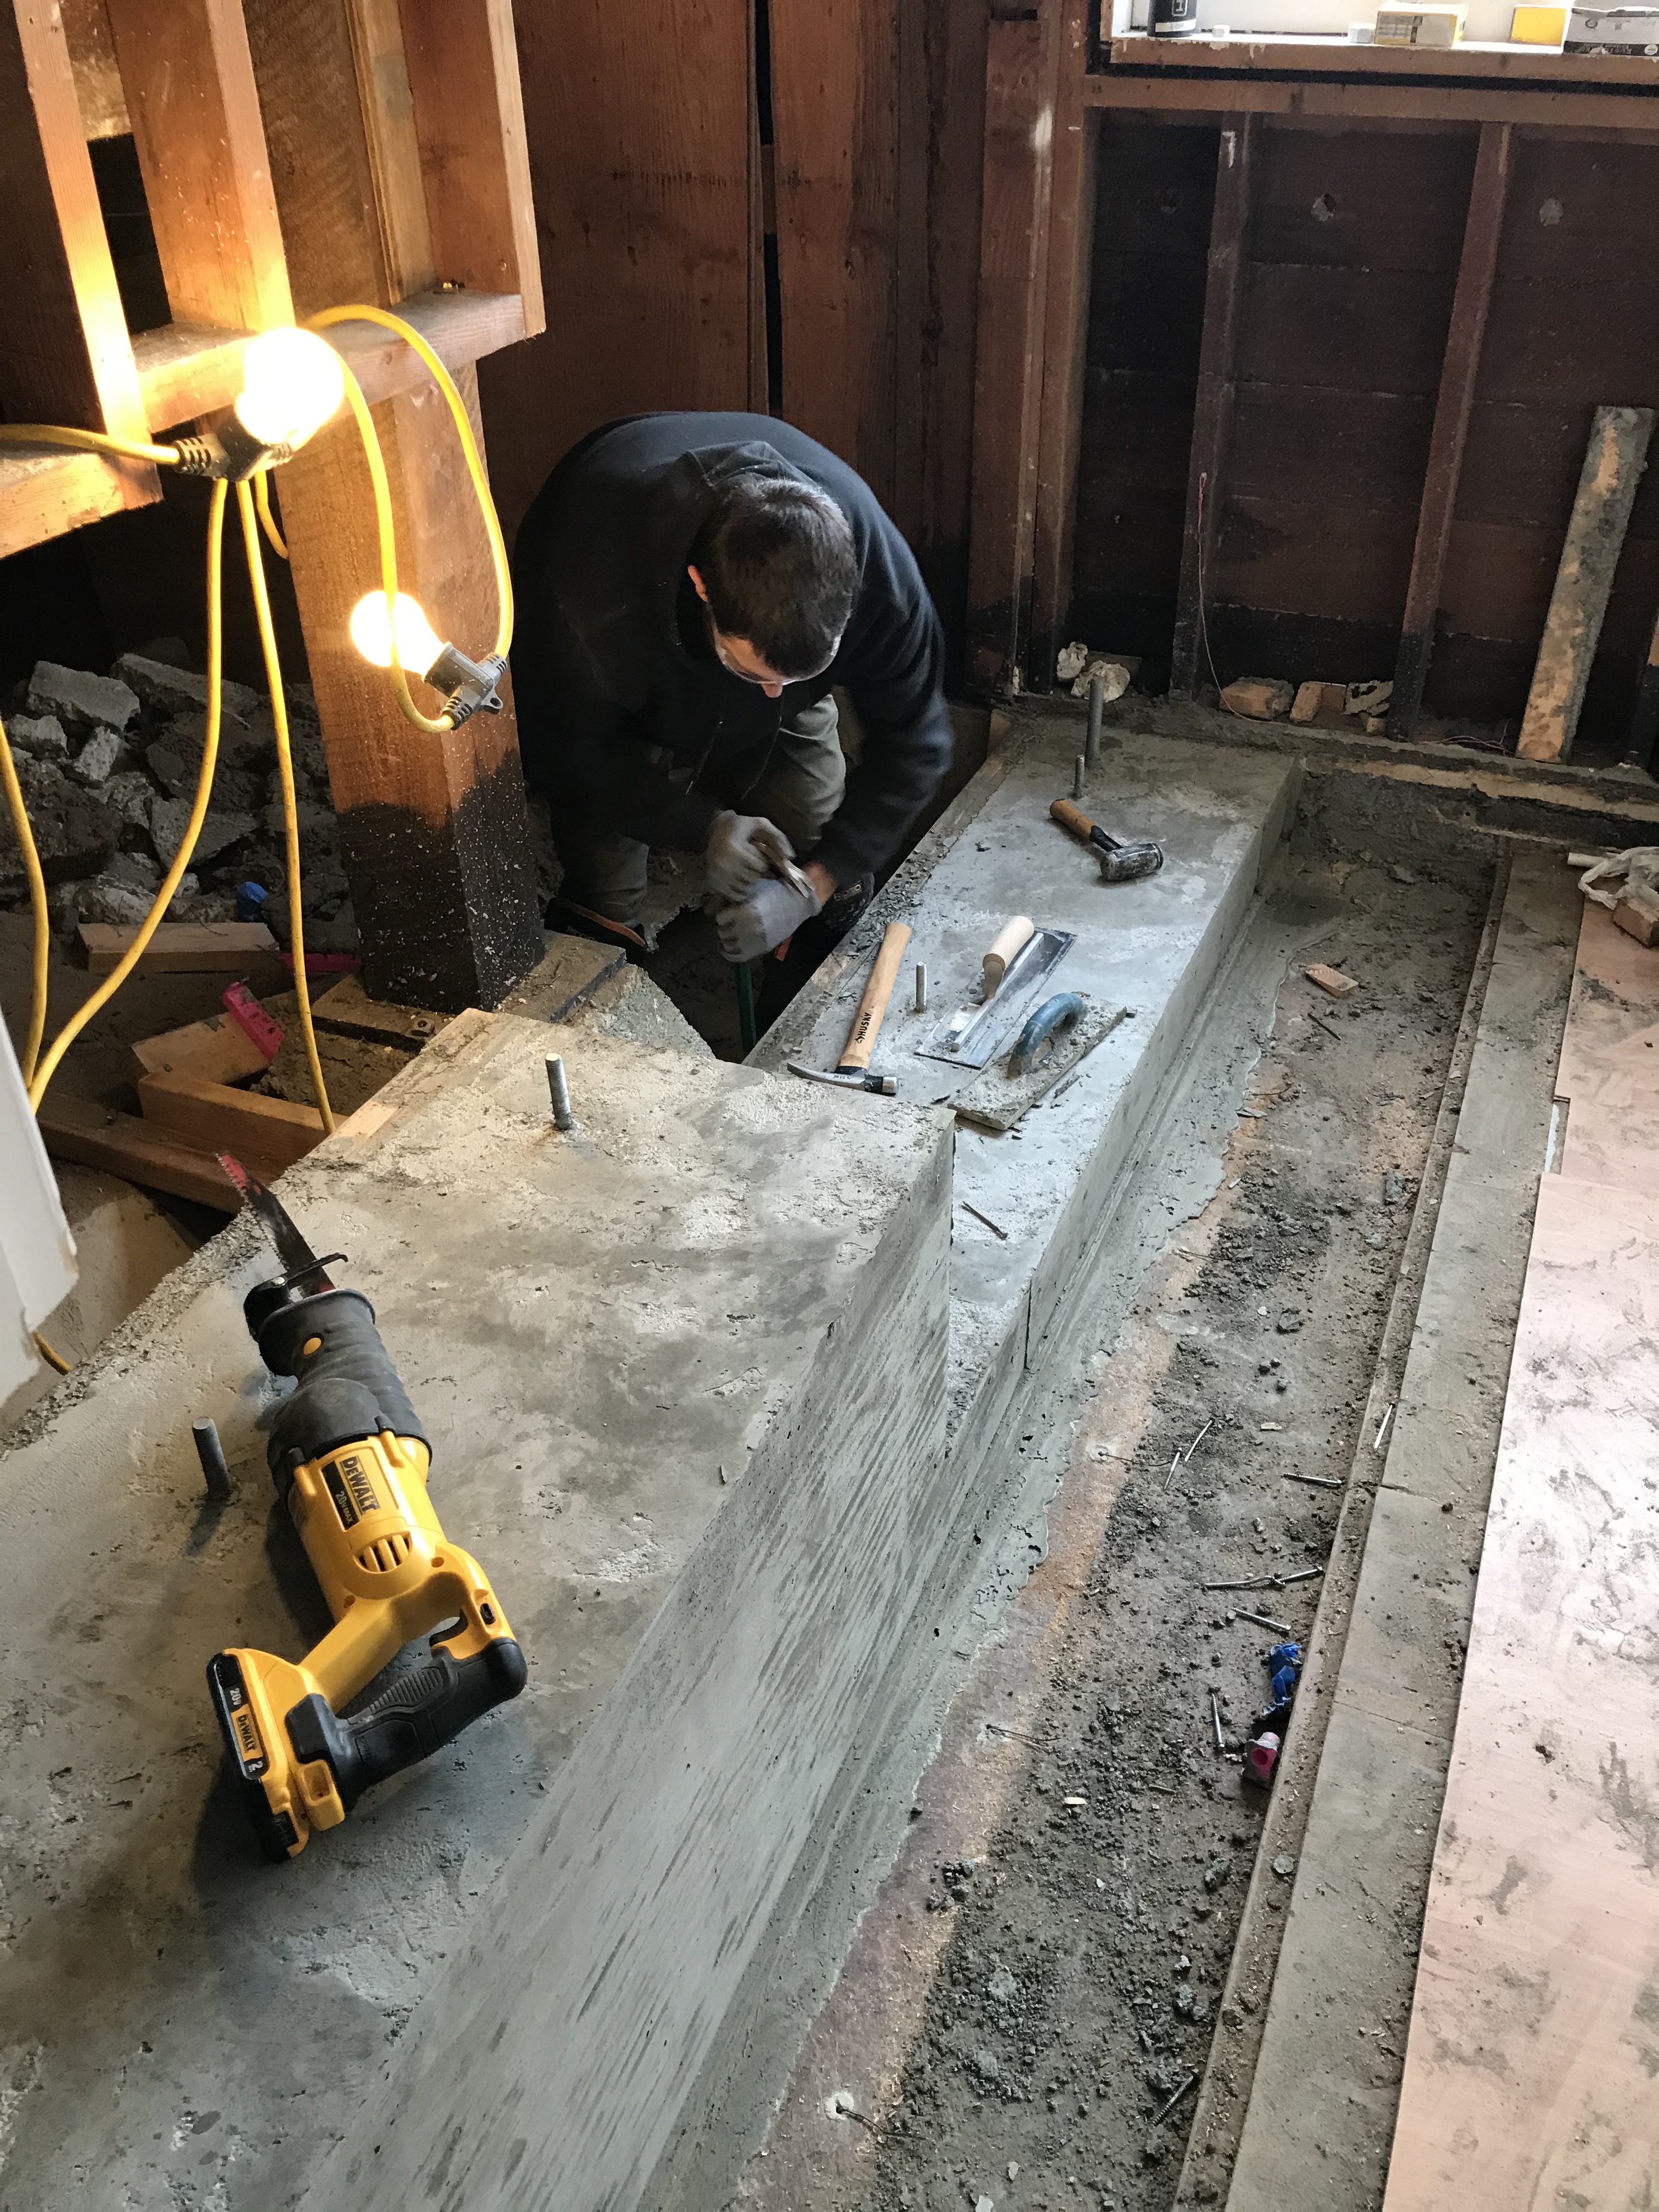

Building the grade beam demonstrated that we could do at least some of the work ourselves! After working well into the night to make sure the rebar and formwork was ready for our concrete pour, we took a brief holiday break for Christmas and New Year’s.
Structural Steel Support
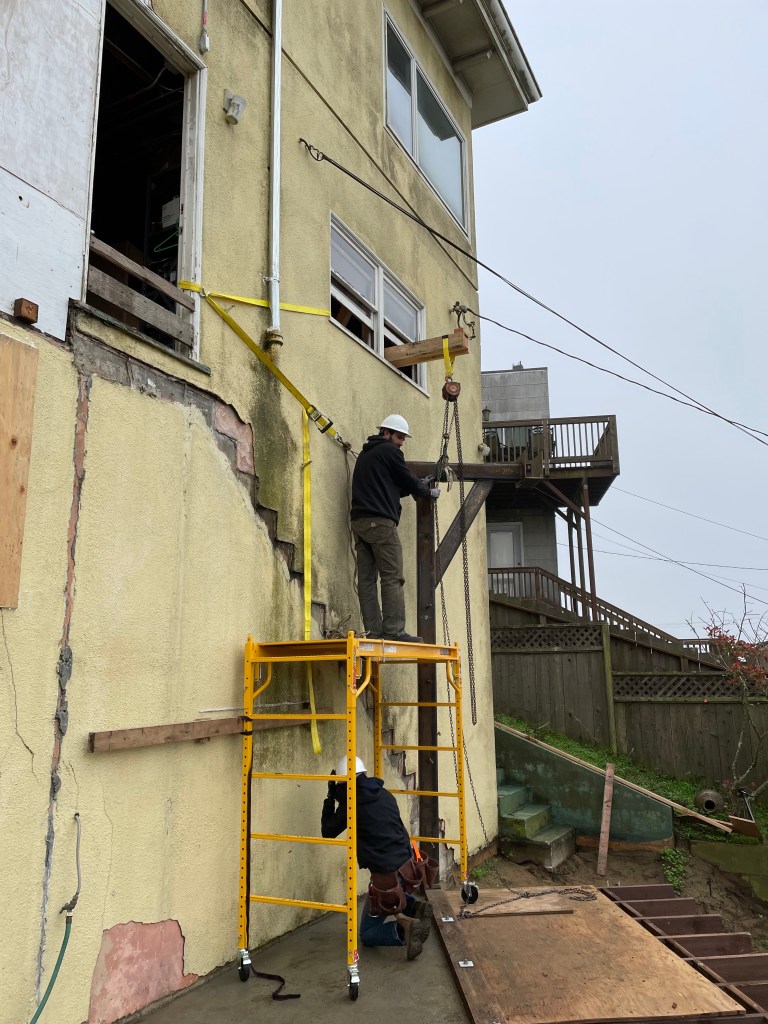
Meanwhile, we confirmed calculations with the structural engineer for a modified steel column and “Kicker Beam” which would connect the addition to the existing house. We worked directly with a structural steel fabricator in the Bayview.

The fabricator delivered the post to our site and allowed us to borrow his hoist to erect it. We built a temporary structure through the second-story window to support the hoist. The hoisting went smoothly, but once it was vertical, attaching it to the existing structure proved to be a huge challenge.
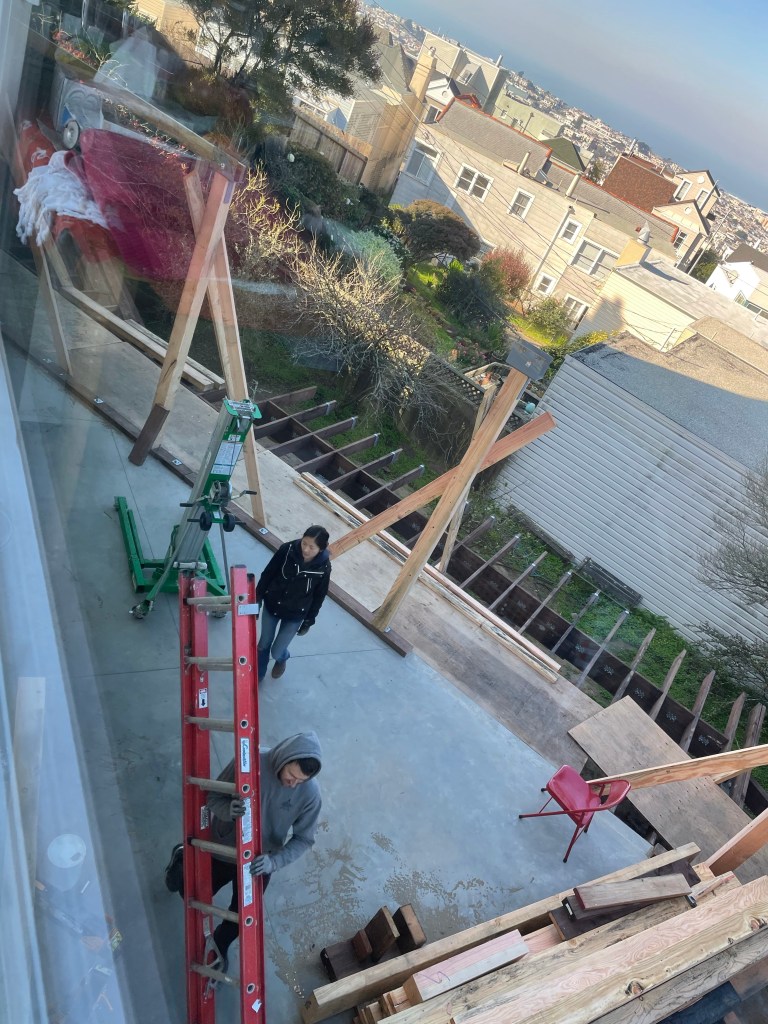
First Signs of Exterior Walls!
With the post finally installed and the sill plate anchored to the slab through a series of cast-in-place bolts, the wood framing members finally began to go up. Heavy PSL beams were set in place with the help of a rented material lift. The edge of the addition and its distance to the rear property line is now visible and a real sense of the three-dimensional space was evident. We put up the header and sill for our first window — a perfect frame for a crystal clear view of the Pacific Ocean and Point Reyes beyond.

Construction Supervision
We can’t overlook our cheerful foreman, who supervises all construction from the corner window to make sure we are on time and within budget. Here, his conscientious staff erect the first column and complete the second of three major beams as he watches from his viewing tower.
We hope you enjoy these constructive travels! We are about one-third of the way towards our goal of completing the ADU this summer. Thanks for joining us, stay tuned, and as always, your comments are welcome!
